wp-notes
Coding a custom WordPress theme
Table of Contents
- Set up the local WordPress site folder
- Set up the local WordPress theme folder
- Rename the local WordPress theme
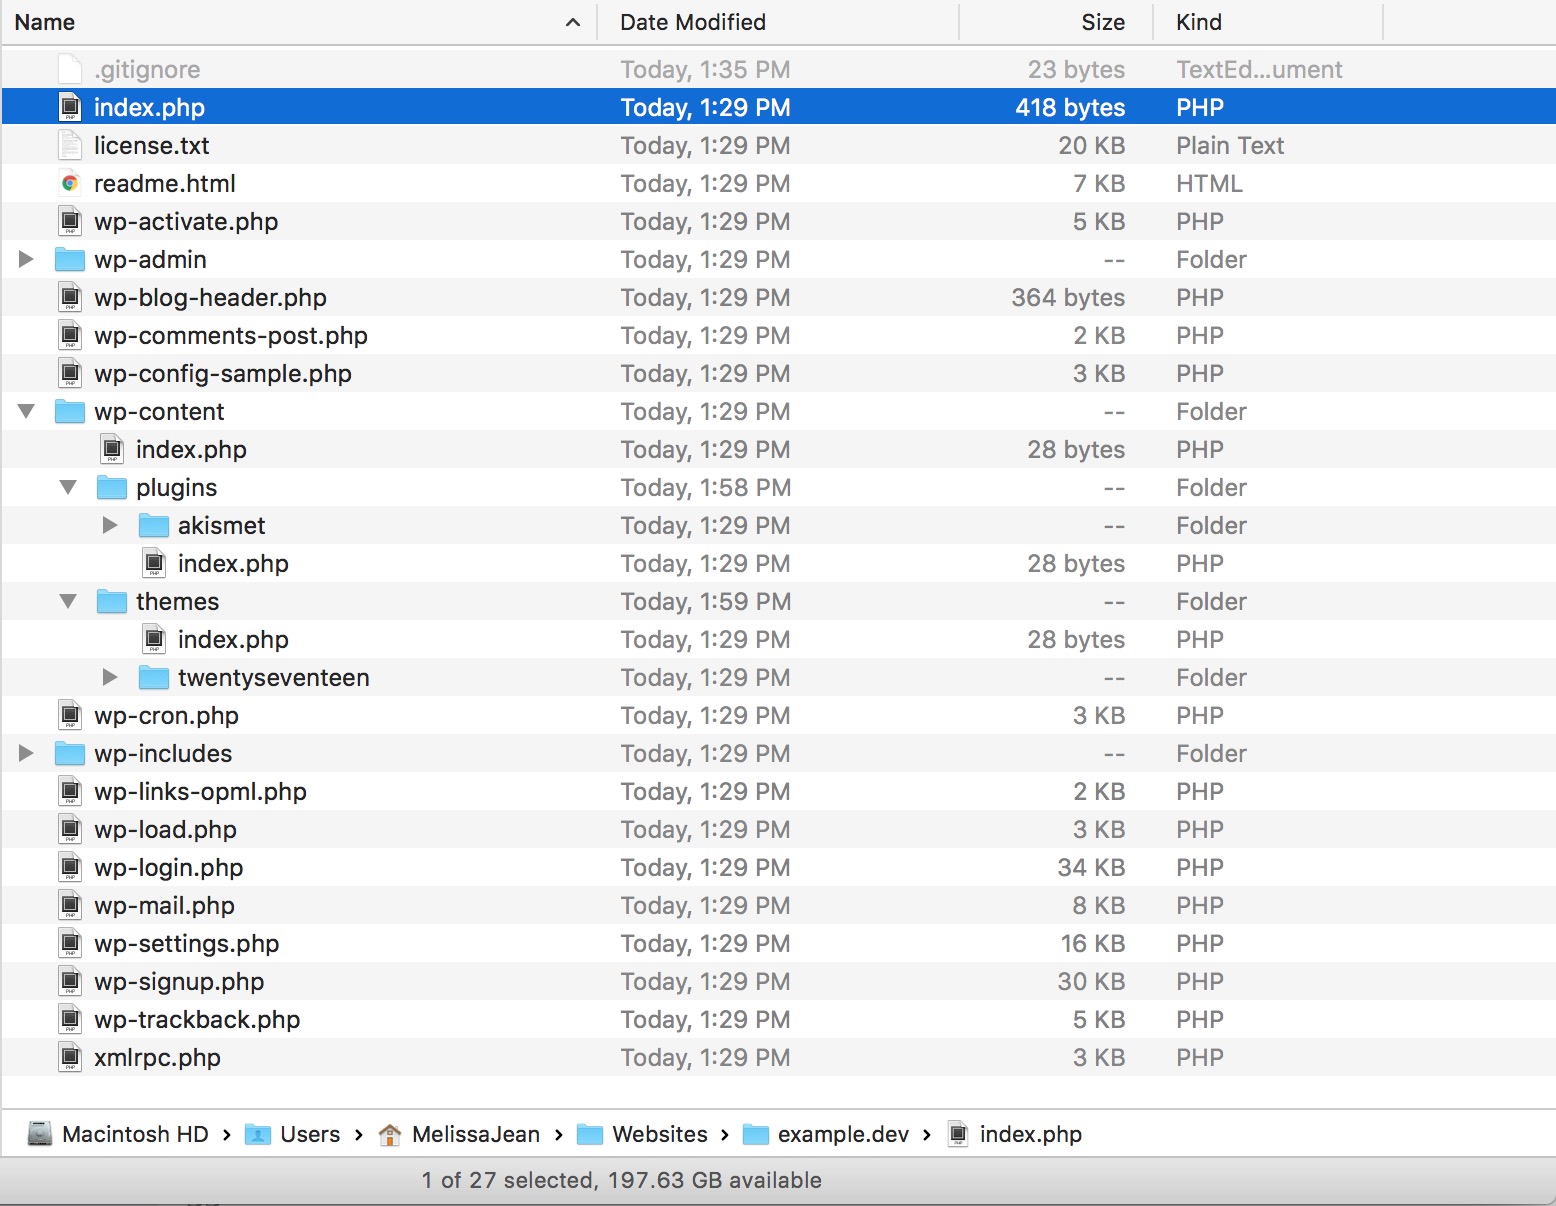
1. Set up the local WordPress site folder
- Download a fresh copy of WordPress.
- If you have WP-CLI installed, you can do this by typing
wp core downloadin your terminal - Otherwise, go to wordpress.org/download to download the latest version.
- If you have WP-CLI installed, you can do this by typing
- Move the WordPress folder wherever you store your local websites.
- For example, I have a folder named
Websites, and within it, I have subfolders for each year
- For example, I have a folder named
- Rename the WordPress folder
- Name it according to the client’s domain.
- For example, if the client’s site is
example.com, your folder will be namedexample.dev
- Delete
wp-content/plugins/hello.php - Delete
wp-content/plugins/hello.php - Delete
wp-content/themes/twentyfifteen - Delete
wp-content/themes/twentysixteen - Download the
.wp-gitignorefile .wp-gitignore- This
.gitignorefile is modelled after WPEngine’s recommendations. - It ignores all WordPress core files (
/wp-admin/, andwp-includes, etc) - It ignores
node_modules, and.sqlfiles
- This
- Rename the
.wp-gitignorefile to.gitignore - Save the
.gitignoreat the root of theexample.devfolder
2. Set up the local WordPress theme folder
- Download the latest copy of my fork of Underscores
- Navigate to
example.dev/wp-content/themes/in your terminal and typegit clone https://github.com/melissajclark/_s.git - OR, download the .zip file from Github and place it in
example.dev/wp-content/themes/
- Navigate to
- In the
wp-content/themes/_s/folder, delete the.gitfolder - In the
wp-content/themes/_s/folder, delete the.gitignorefile
- If you don’t see the
.gitand.gitignorefiles, you may need to enable seeing invisible files. - Follow these instructions to view hidden files on your Mac: https://ianlunn.co.uk/articles/quickly-showhide-hidden-files-mac-os-x-mavericks/
- If you don’t see the
- Delete the
wp-content/themes/_s/readme.mdfile - Delete the
wp-content/themes/_s/readme.txtfile - Delete the
wp-content/themes/_s/assets/images/logo.svgfile - Add the client’s logo in
wp-content/themes/_s/assets/images/and name itlogo.svg- This logo will be used for the WP Admin login screen.
- See the
wp-content/themes/_s/assets/sass/login-style.scssfile for more details
3. Rename the local WordPress theme
How to search and replace + tips for doing it
- Press
Command+Shift+Fin Sublime Text to bring up the Search in Folder panel- Enter
-*.txt,-*.mdin the Where: field to exclude markdown and .text files - First, press Find to review what it finds
- Next, press Replace to replace all instances of your search term
- Enter
- How to quickly perform the search and replace:
- Press
Command+Sto quickly save and bypass the Save / Exit messages that come up - Press
Command+Wto quickly close files you do not want to change
- Press
Performing the search and replace
- In your finder, rename the
_sfolder toexample - Open the whole
examplefolder in your text editor (I use Sublime Text) - Search for
'_s'and include the single quotations to capture the theme’s text domain.- Replace with
'example'.
- Replace with
- Search for
_s_to capture all the function names.- Replace with
example_.
- Replace with
- Search for
Text Domain: _sin style.css- Replace with
'Text Domain: example. - FYI 1: the text domain must match the theme’s folder name. This is why we already renamed the folder to
example. - FYI 2: the text domain is used across all functions on the website.
- Replace with
- Search for
_s(with a space before it) to capture DocBlocks.- Replace with
example.
- Replace with
- Search for
_s-to capture prefixed handles.- Replace with
example-.
- Replace with
- Search for
Theme URI: http://underscores.me/to capture the theme’s URL- Replace with
Theme URI: http://example.com(the client or project’s URL)
- Replace with
- Search for
Description: Naked WordPress starter theme, via Automattic.to capture the theme description- Replace with
Description: Custom WordPress theme developed for Example by Melissa Jean Clark
- Replace with
 Renaming functions in the WordPress theme
4. Setting up your local server
For this step you can use MAMP / Vagrant / Local / etc, the tool does not matter. You just need a local environment that can run WordPress.
- Naming of database
- WP-config settings
- Etc
5. Set up Gulp for the WordPress theme
The gulpfile.js and package.json follow Ahmed Awais’ WPGulp set up. See his notes for more info on setting up: WP Gulp.
- In the
wp-content/themes/example/gulpfile.jsfile:- Search for
wp.dev - Replace with
example.dev(or whatever your local site URL will be)
- Search for
- Type
npm installorsudo npm installto install the Gulp dependencies for our theme - Once the dependancies download, type
gulpto test it out
6. Setting up a remote Bitbucket repository
- Set up remote repo
- Locally, add remotes
- Push local work to remote repo
Whew!
At this stage, your WordPress development environment is set up. All code will be stored in a private Bitbucket repository.
The steps above may seem like a lot, but a lot of them are tiny things like renaming a folder, or deleting a file. The initial setup listed above takes me about fifteen minutes.
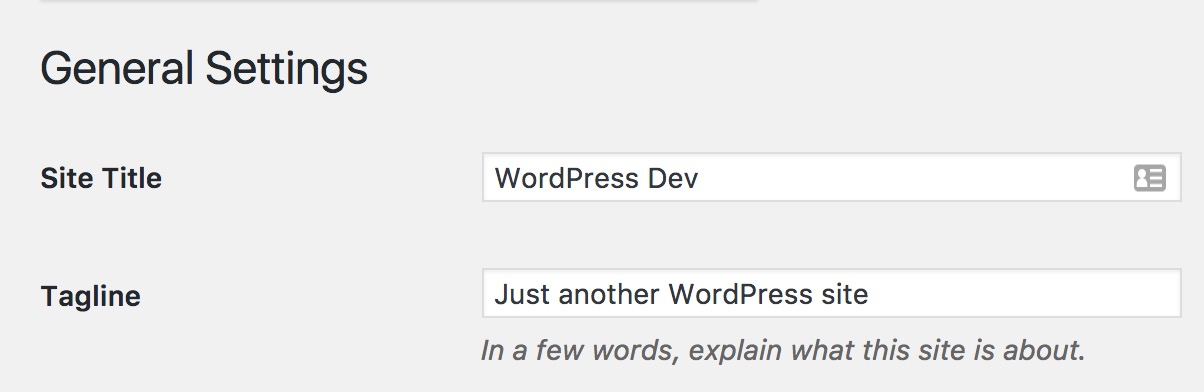
Setting up (WP admin)
- Remove the “Just another WordPress site” from Settings > General
- Install WP development plugins
- Create user account for client (use dummy email)
- Create user account for me
Set up WPEngine staging site
- Enable git push WPEngine site
- Add remote
About the starter theme
- File structure
Best practices and strategies
- All templates should be built to be as flexible / re-usable as possible.
Security & Translation
- All strings should be formatted like this: ``` GOOD: <h1></h1>
BAD: <h1>Events</h1> ```
- The
_epart of the function ensures the content is available for translation. - The
'example'part of the function is the text domain (theme name) - Learn more: Codex: esc_html_e, Codex: esc_html
Functions
ACF Best practices
- All image fields should use the
idreturn option. - All ACF functions should be wrapped in the ` if function_exists(‘get_field’)` function
- All field data should be stored in a variable
- using the variable instead of
get_field('field_name')every time reduces calls to the database and keeps code organized
- using the variable instead of